Jak správně nafotit dres
Přesná fotodokumentace předmětu je velmi důležitá. V případě, že podáváte žádost o Expertní hodnocení nebo Uznání certifikátu třetí strany, je dokonce nezbytná (viz VZOR NAFOCENÍ DRESU PRO ŽÁDOST O OVĚŘENÍ PRAVOSTI GA).
Kvalitní fotky mají jednak vyšší informační hodnotu, jednak usnadňují rozhodování případným kupujícím, ale mohou sloužit jako důkaz i v případě sporů a nejasností.
POZADÍ
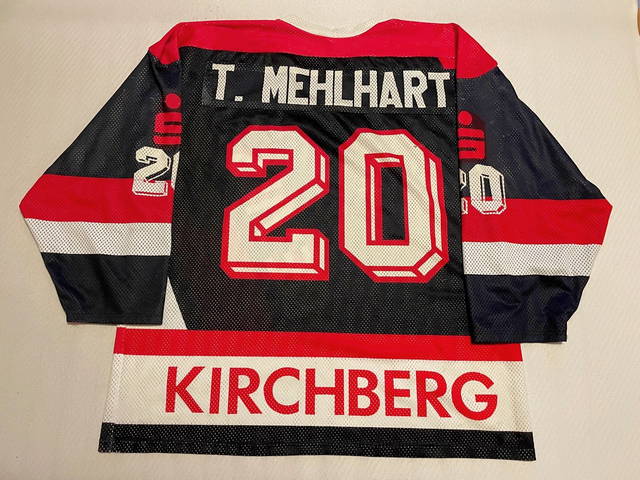
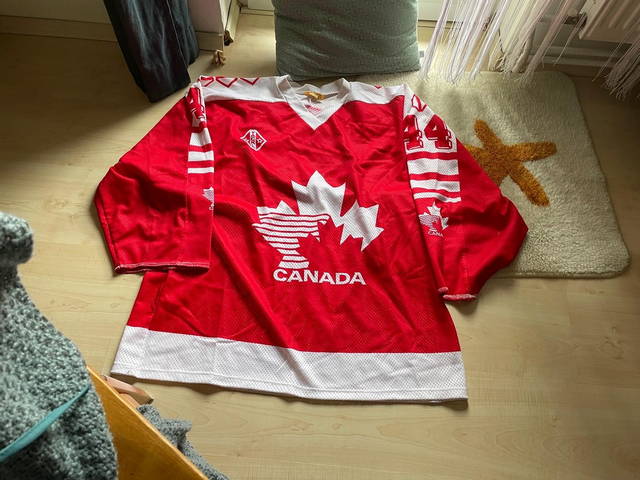
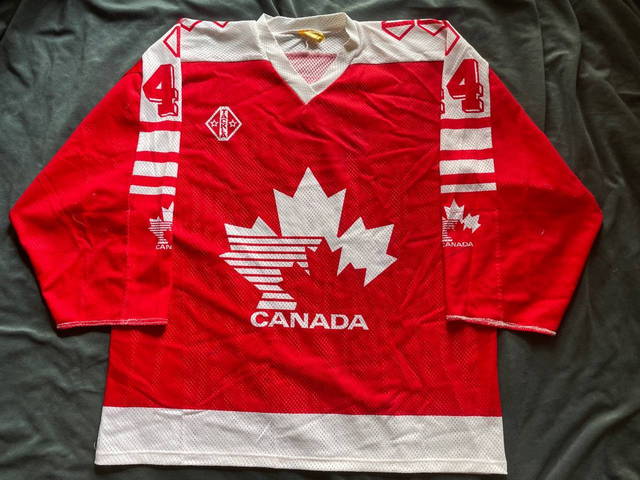
Předmět foťte v ideálním případě na jednobarevném kontrastním pozadí. Tmavé předměty rozložte na světlém podkladu a obráceně. Pozadí by nemělo mít žádné výrazné vzory, dřevěný stůl, podlaha nebo dlaždice jsou ale obvykle v pořádku. Ideální je například jednobarevné prostěradlo.
SVĚTLO
Důležité je i správné osvětlení. Předmět fotografujte na takovém místě, aby byl osvětlený rovnoměrně. Případné stíny mohou být matoucí, mohou totiž vypadat například jako skvrna na předmětu.
ARANŽOVÁNÍ
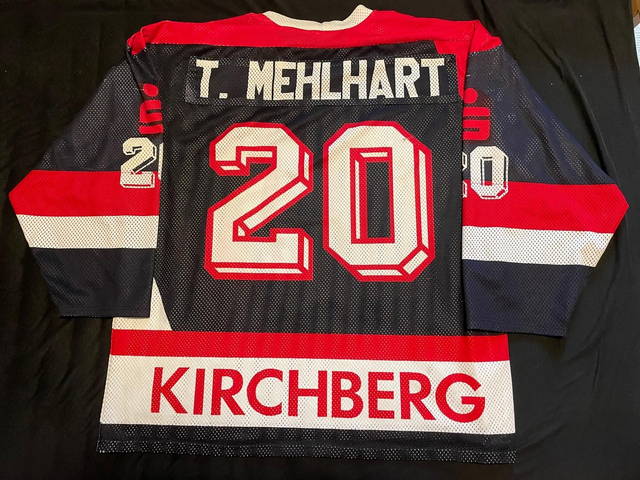
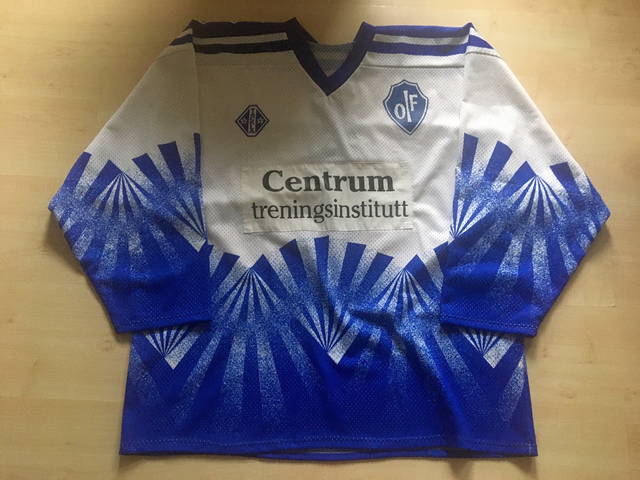
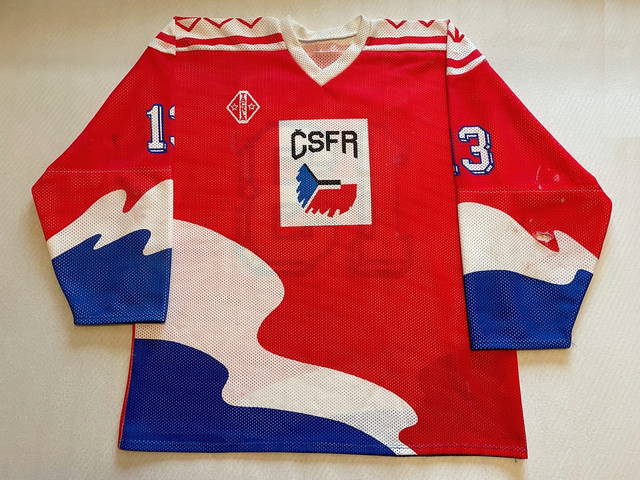
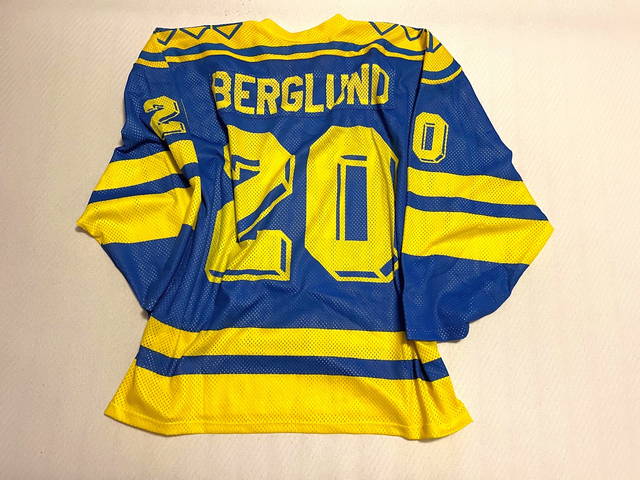
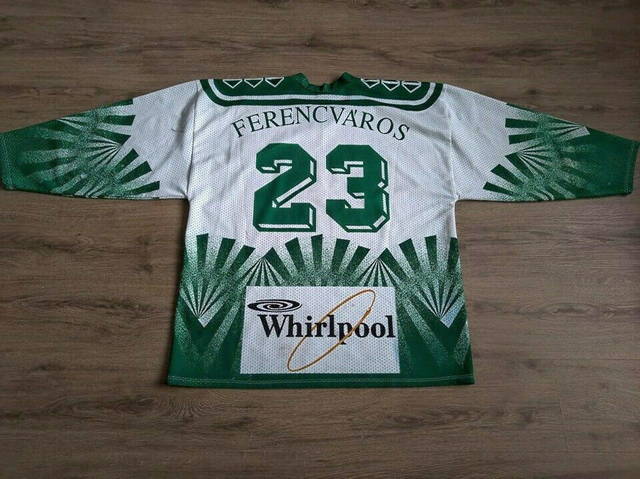
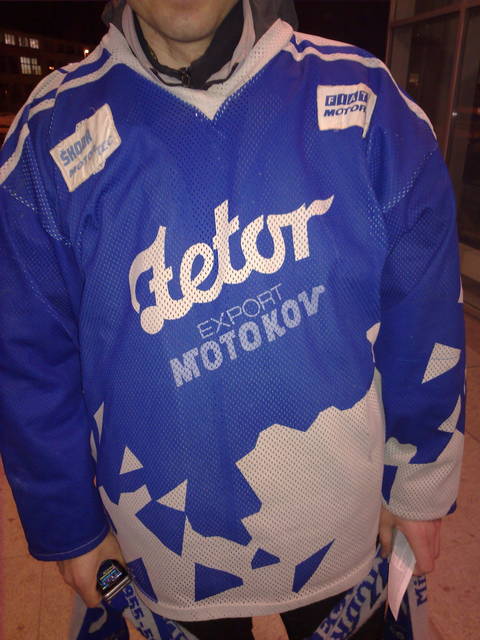
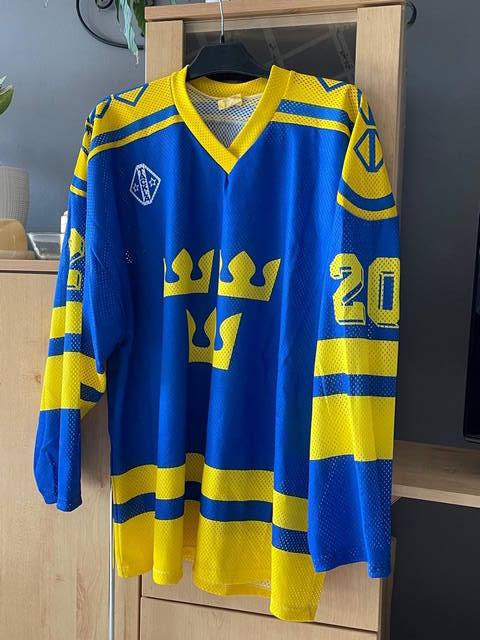
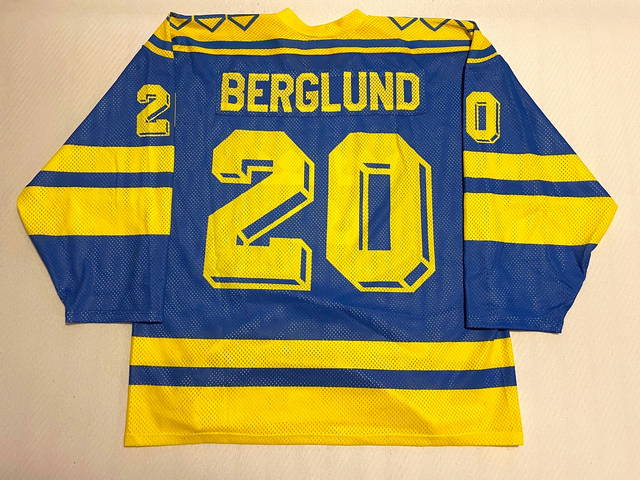
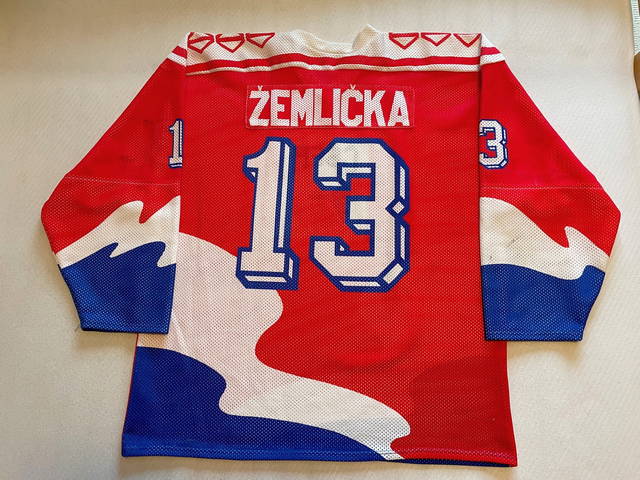
Dres vždy položte na rovnou plochu (stůl, postel, podlahu), nikdy ho nefoťte například pověšený na ramínku. Pokud to střih a stav dresu umožňuje, co nejvíc ho natáhněte a vyrovnejte.
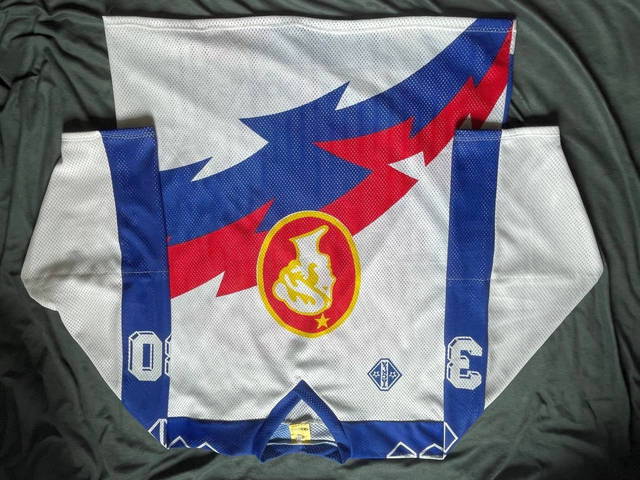
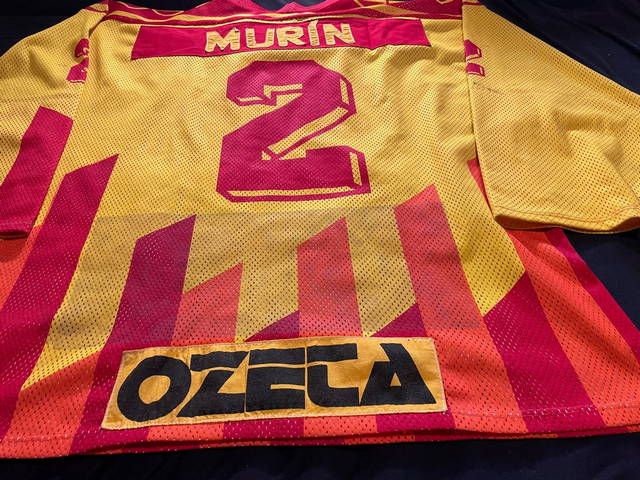
Založte rukávy tak, aby byly vždy na fotografii celé a aby na fotografii bylo vždy vidět to podstatné (čísla, patche). Nenechávejte rukávy natažené, (resp. můžete pořídit i takovou fotografii, ale využijte ji jako doplňkovou – nikoli jako hlavní).
ÚHEL FOCENÍ
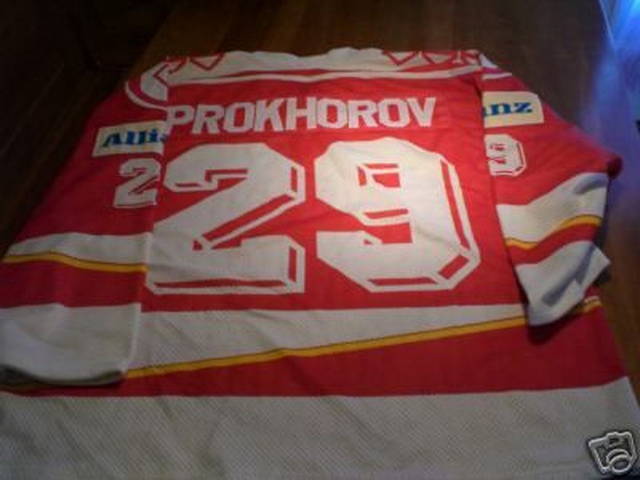
Pokuste se zabrat dres z dostatečné výšky kolmo k podložce. U dresu obecně platí, že čím ostřejší úhel, tím méně vhodná fotografie. Ostré úhly mohou zkreslit podobu celého předmětu. U ostatních věcí (například puky) zvolte úhel focení tak, abyste na hlavní fotografii pokryli to podstatné. Při focení dejte pozor, abyste na předmětu nevytvořili stín.
DETAILY
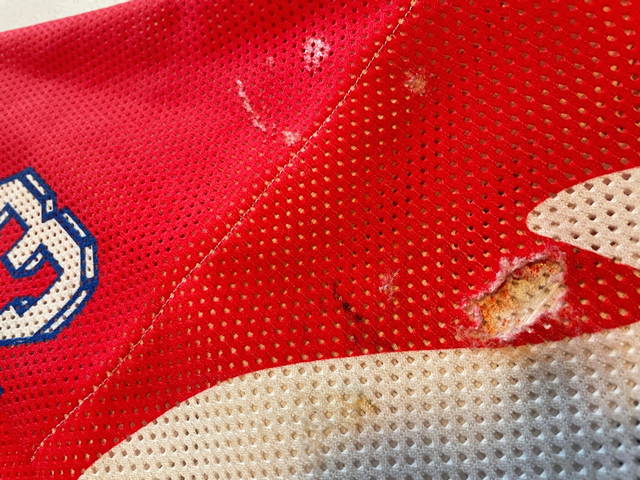
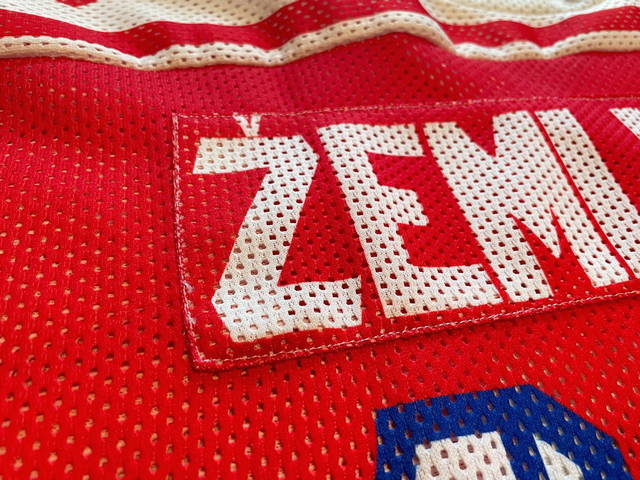
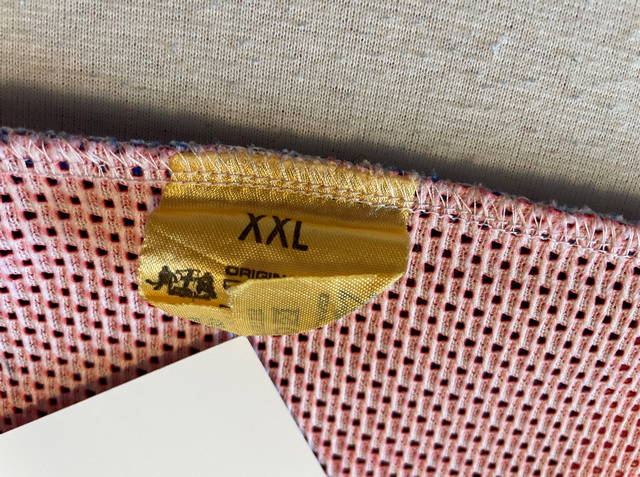
Na fotografiích by měly být pokud možno zřetelně vidět detaily, které pomohou identifikovat dres. Tato specifická místa je vhodné vyfotit každé z nich ještě zvlášť.
VZOR NAFOCENÍ DRESU PRO ŽÁDOST O OVĚŘENÍ PRAVOSTI GA
Povinné fotografie:
Příklady nafocení detailů:
